Use plenty of solution and really get the record wet while being very, very careful to keep the solution off of the record label, as it will cause the paper label to “rise” or stain the label, etc, and it will never look like new again.
Apply the Cleaning Solution to a Cloth or Record Preener
The best way to apply the cleaning solution is to apply it to the cleaning device that you are going to use, such as a soft cloth, record preener (brush), etc. I recommend a very soft, clean cotton material such as a baby’s diaper (old school, washable type).
Thoroughly wet it using the best quality water available, then wring it dry, then apply the solution onto the cloth. You can use the solution either full strength or diluted as you see fit, depending on the task at hand. When diluting, use the best quality water available.
Scrub the Vinyl Grooves
You can then scrub the vinyl grooves with the wet cloth using a circular arm motion so as to follow the line of the grooves as closely as possible. The cloth will work its fibers down into the grooves. Don’t be afraid to apply some elbow grease to really dirty records. I like to clean a third or a fourth of the record at a time, then turn and clean another section and repeat until you have made your way all the way around the record. Special attention should be paid to the “trail in” vinyl on the outer edge of the record because more inadvertent fingerprints and dirt are found there, plus it’s the first sound that you will hear from your newly cleaned record!
Dry the Record
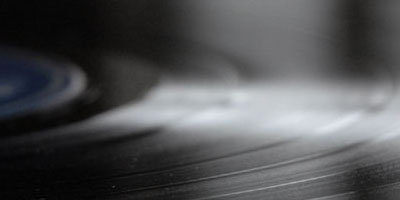
To dry the record, use another soft clean cotton material cloth and buff it until it shines. While drying use a circular motion that closely follows the curvature of the grooves around the record. When cleaning and drying use good lighting and try to view the record’s surface by looking at the reflection of the light on the surface of the record. Incandescent lighting is much more revealing than fluorescent lighting. Be sure to work on a clean surface and don’t place the cleaning surface of your cloth face-down on anything because it can pick up little pieces of dirt that will scratch the next record you clean. Rinse your cleaning cloth regularly using the best water available.
Inspect the Surface
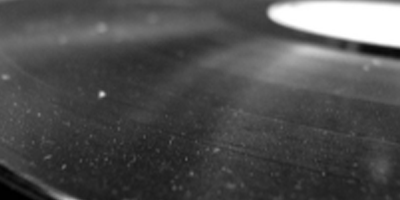
When you are done cleaning, use your fingers to feel the surface of the record while cleaning (when presumably your fingertips are completely clean) for a final quality inspection. Sometimes little deposits are found on the surface of a record from any number of sources that the first pass with the cleaning cloth did not remove. Fingertips will feel these little bumps better than your eyes can see them! Many times these little specs can be coaxed off of the record with a little extra effort from your wet cleaning cloth. Sometimes they need more help which is where your fingertip or even fingernail can gently persuade the spec to let go. Beware that too much effort can cause permanent damage, so practice on cheap records first. Also understand that some problems cannot be cleaned away as they are embedded in the vinyl.
A general rule with records is that if you can feel it with your finger then you will hear it when playing. Scratches can be evaluated with that in mind. Some surface marks look bad but are nearly inaudible, while others are nearly invisible but cause a loud, audible clunk. Scratches on records are as unique as fingerprints or snowflakes as no two are exactly alike. Scratches that are perpendicular to the groove cause fewer problems than those that are nearly parallel to the groove as it relates to skips and repeats.
 Sign Up For Our Newsletter


